Shade Measurement Guide
Proper measurement is key to achieving a perfect fit and optimal light control for your shades. Whether you prefer a sleek inside mount or a bold outside mount, following these guidelines will help you measure accurately and select the best option for your space.
The Two Main Installation Choices
Prior to measuring your windows for blinds or shades, you need to determine the best mounting type for your needs. Inside and outside mounts each provide unique advantages and are ideal for specific scenarios.
Inside Mount
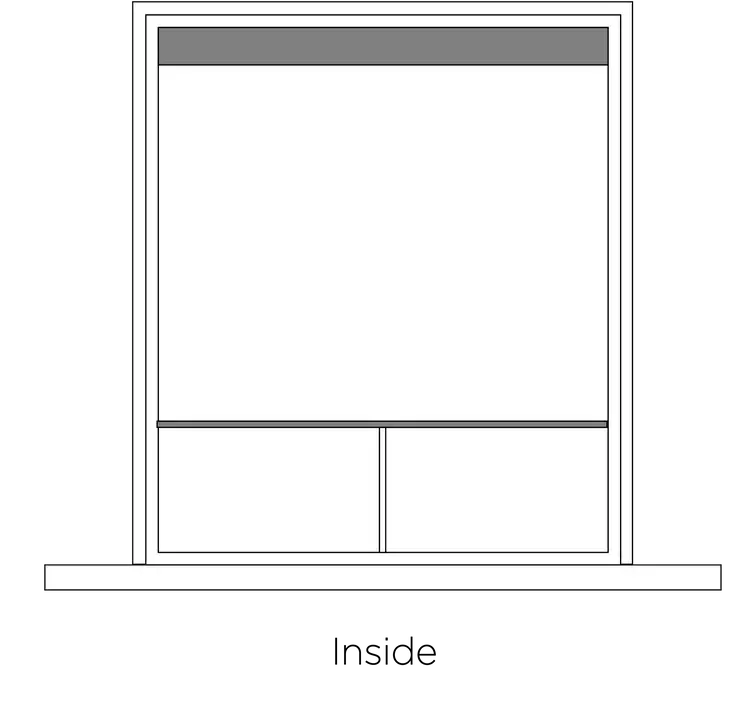
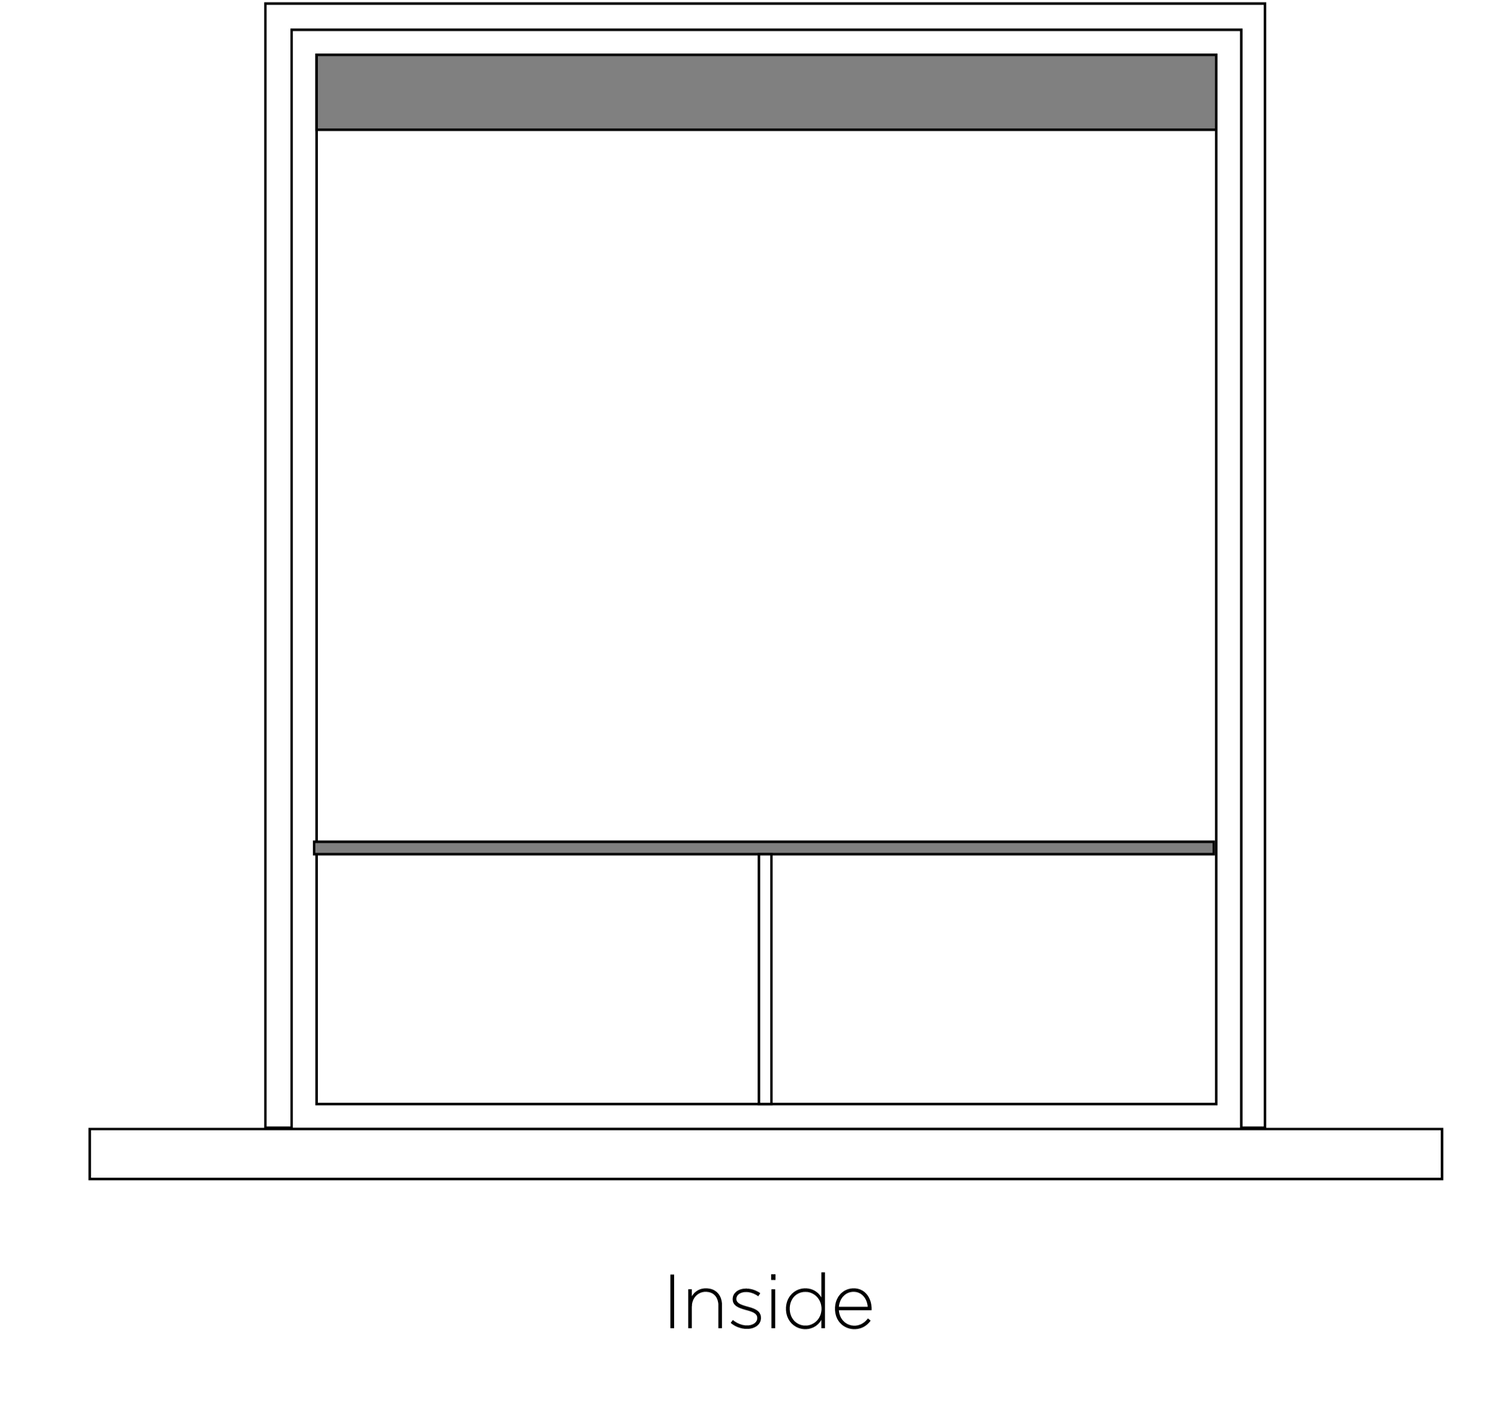
Inside mounting creates a clean, streamlined look by fitting the shades within the window frame, highlighting the window trim. This option works best when:
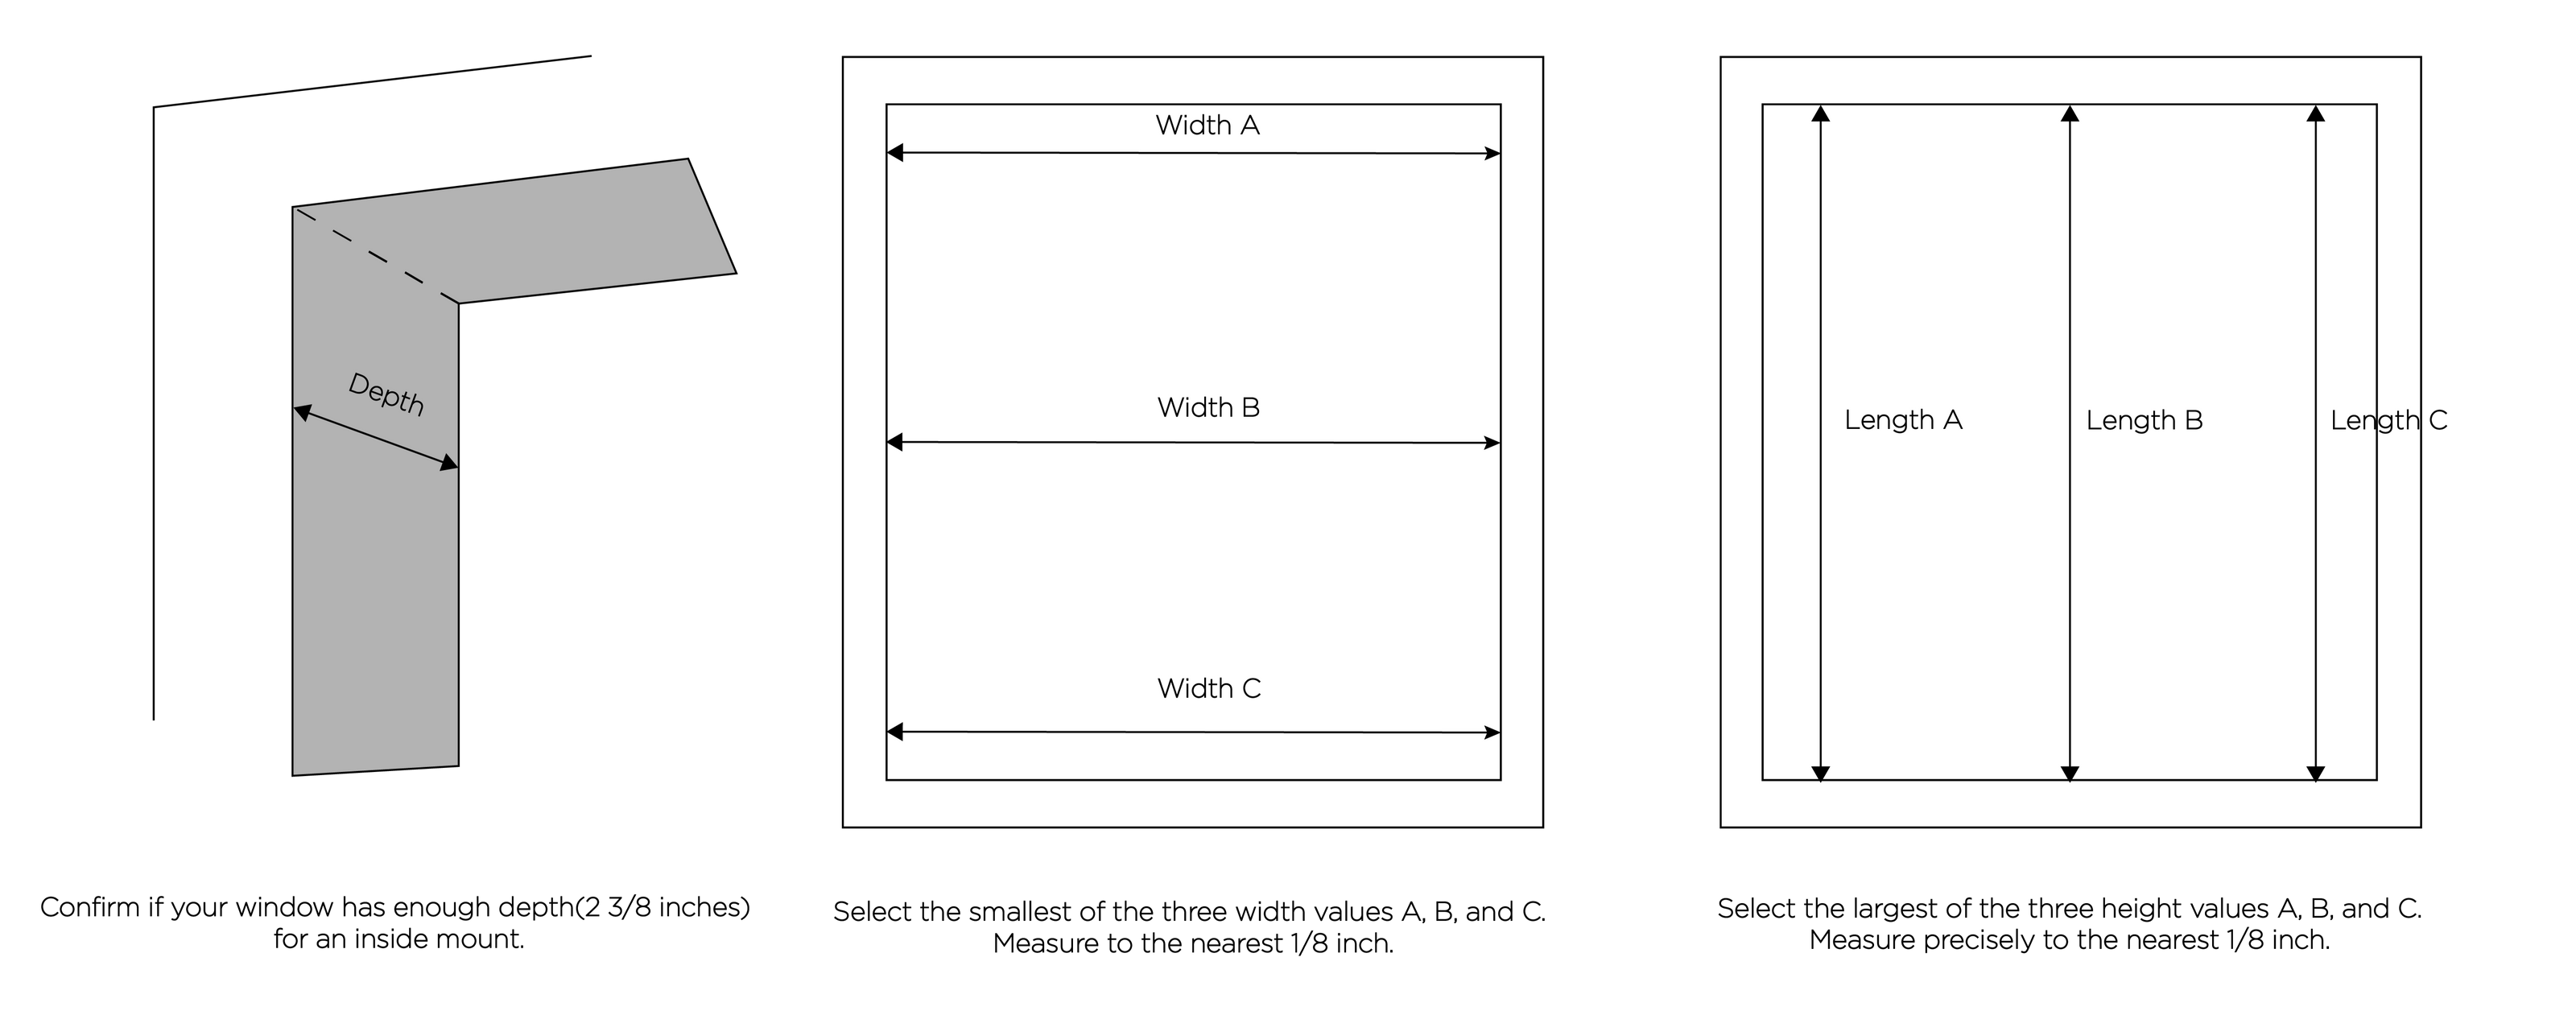
- The window frame has at least 2 3/8 inches of depth for mounting hardware.
- The window trim is visually appealing and worth showcasing.
- The windows are well-shaped and sturdy enough to support the hardware.
- A deep or extended window sill may prevent proper installation of an outside mount.
If the window frame lacks sufficient depth, consider an outside mount instead.
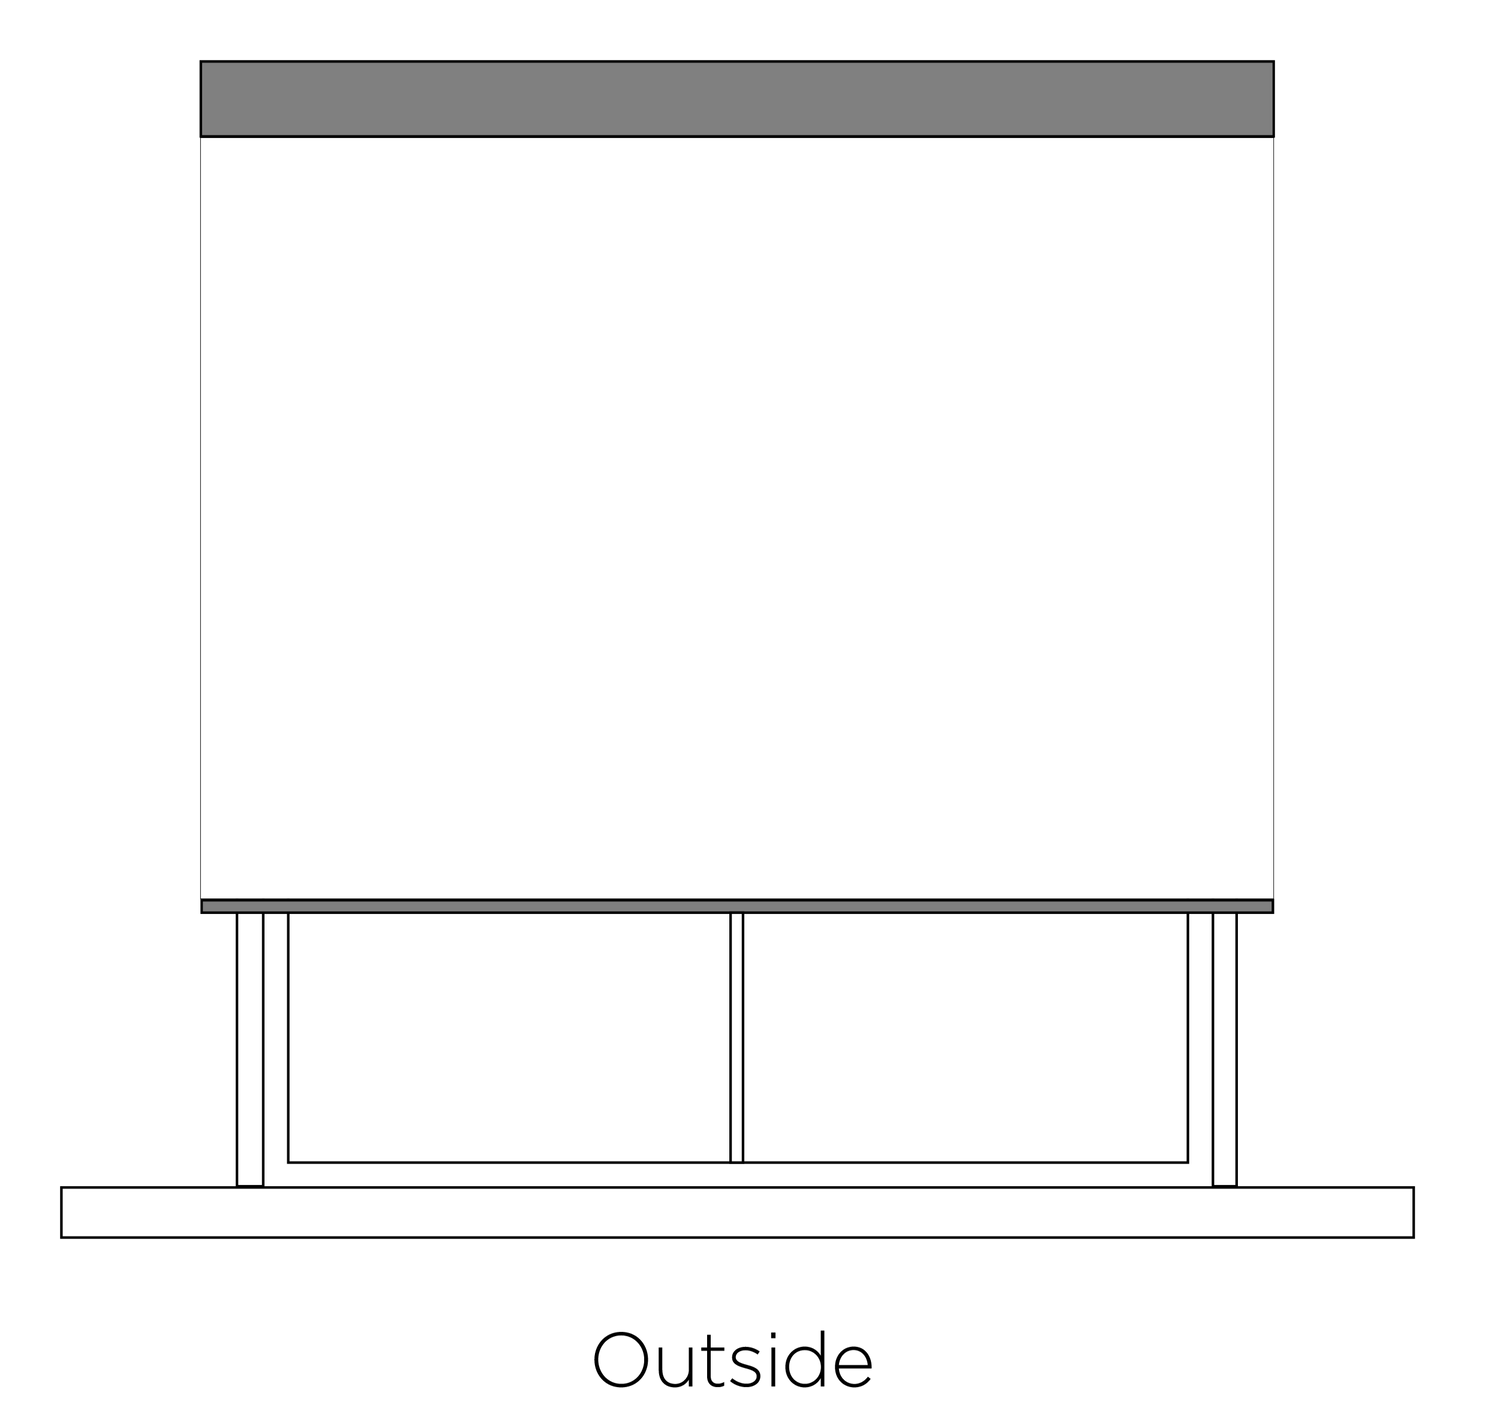
Outside Mount
Mounting shades outside the window frame offers a versatile solution that can cover imperfections and create a more substantial appearance. Consider an outside mount when:
- Insufficient Depth: The window frame is too shallow or fragile to support an inside mount.
- Irregular Shape: The window is not perfectly rectangular or has an uneven frame.
- Light Blocking: Enhanced light control and privacy are needed when the shades are closed.
- Window Enlargement: To create the impression of larger, taller windows.
- Unobtrusive Roll-Up: When rolled up, the window treatment should be discreet and inconspicuous
Measuring for 2 Mount Types:
-
Inside Mount
1. Measure Window Width:
- Measure the exact inside width of the window frame at three points—top, middle, and bottom.
- Use the narrowest measurement to ensure the shade fits within the frame.
2. Determine Final Width for Order:
- Enter the exact measured width when placing the order.
- For a perfect fit, the factory will automatically deduct ⅜ inch from the width to prevent tightness—no need to adjust your measurement.
3. Measure Window Height:
- Measure the inside height of the window frame at three points—left, middle, and right.
- Use the longest measurement to ensure full coverage.
4. Determine Final Height for Order:
- Enter the exact measured height when placing the order.
-

Outside Mount
1. Measure Window Width:
- Measure the exact width from edge to edge of the window frame.
- To ensure better light control and coverage, we recommend adding 2–4 inches on each side.
2. Determine Final Width for Order:
- Final order width = Measured window width + added width on both sides (recommended 2–4 inches each side).
3. Measure Window Height:
- Measure the exact height of the window frame from top to bottom.
- To maximize coverage and allow room for stacking when the shade is open, we recommend installing the headrail at least 6 inches above the window frame (ideal range: 6–8 inches).
- For optimal coverage when the shade is down, we recommend extending the fabric 4–6 inches below the window frame.
4. Determine Final Height for Order:
- Final order height = Measured window height + headrail height above the window (recommended 6–8 inches) + extra length below the window (recommended 4–6 inches).
-
Note:
- Use a Steel Measuring Tape: Opt for a steel measuring tape to ensure precise measurements, as cloth tapes may stretch and lead to inaccuracies.
- Measure to the Nearest 1/8 Inch: Accuracy is essential, so measure precisely to the nearest 1/8 inch without rounding.
- Check for Obstructions: Examine the window area for any hardware, handles, or obstacles that could hinder the shade’s functionality.
- Allow Space for Mounting Hardware: For outside mounts, confirm there is adequate space above the window to accommodate the mounting brackets.


