


How to Measure for Curtains: A Detailed 5-Step Guide with Examples and Tips
Share
How to Measure for Curtains: A Detailed 5-Step Guide with Examples and Tips
Drapes add elegance, texture, and dimension to any space, but to achieve a polished look, getting the measurements right is key. Not sure where to start? Our expanded step-by-step curtain measurement guide makes it easy to order the perfect custom drapery for your home. We’ve included detailed explanations, practical examples, and common pitfalls to avoid, so you can measure with total confidence.
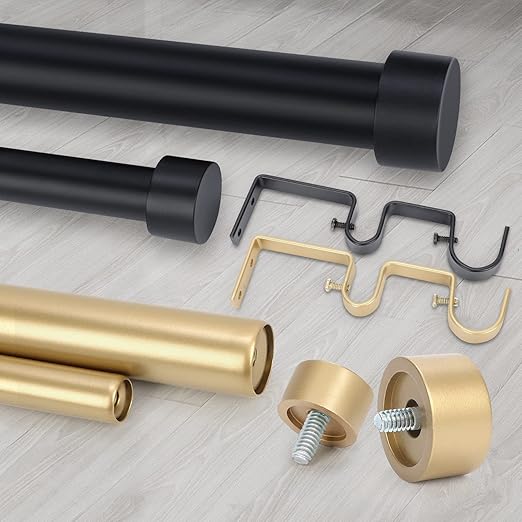
Step 1: Gather Your Measuring Tools
Before you start, assemble the essentials:
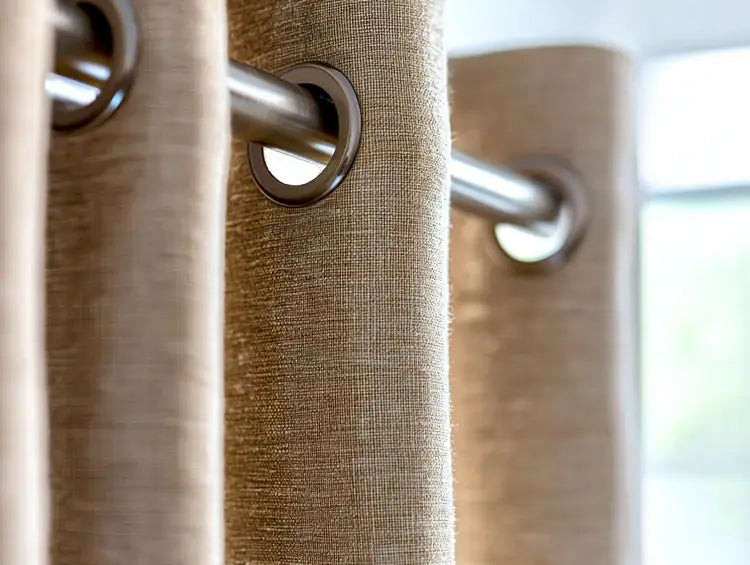
- Metal measuring tape: More accurate than plastic alternatives.
- Stepladder: Helps you safely reach high spots.
- Pencil: Lightly mark measurements on the wall.
-
Level: Ensures your markings and rod placement are straight.
Pro tip: Make sure to measure twice to avoid any mistakes.
Step 2: Decide on Your Mounting Style
Your curtain mounting choice will impact your measurements. There are two main options:
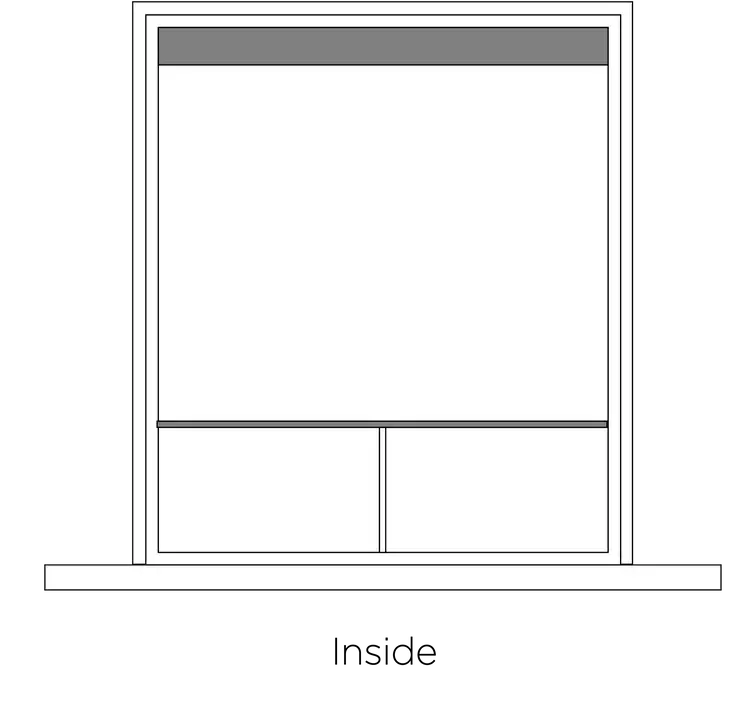
- Inside Mount: The curtain rod sits inside the window frame, offering a clean, tailored look.
-
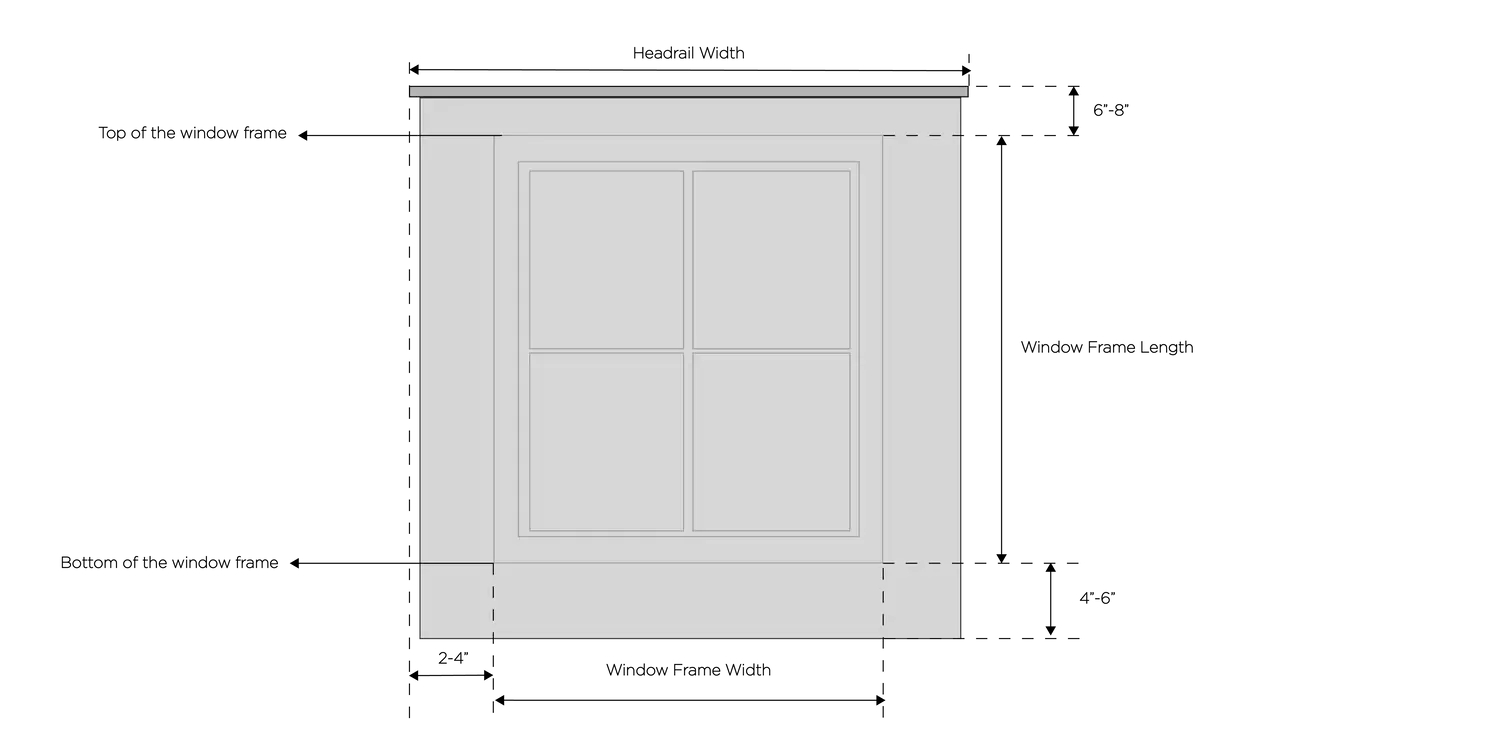
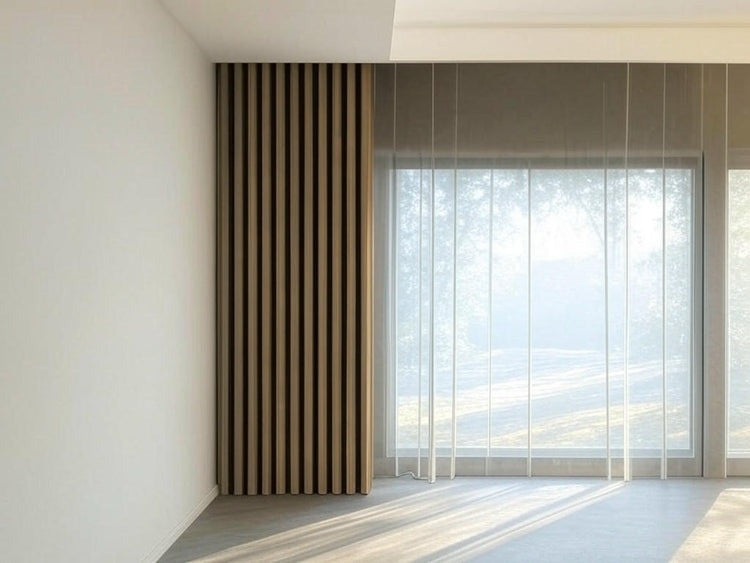
Outside Mount: The rod is installed above and outside the window frame, creating the illusion of larger windows and higher ceilings.
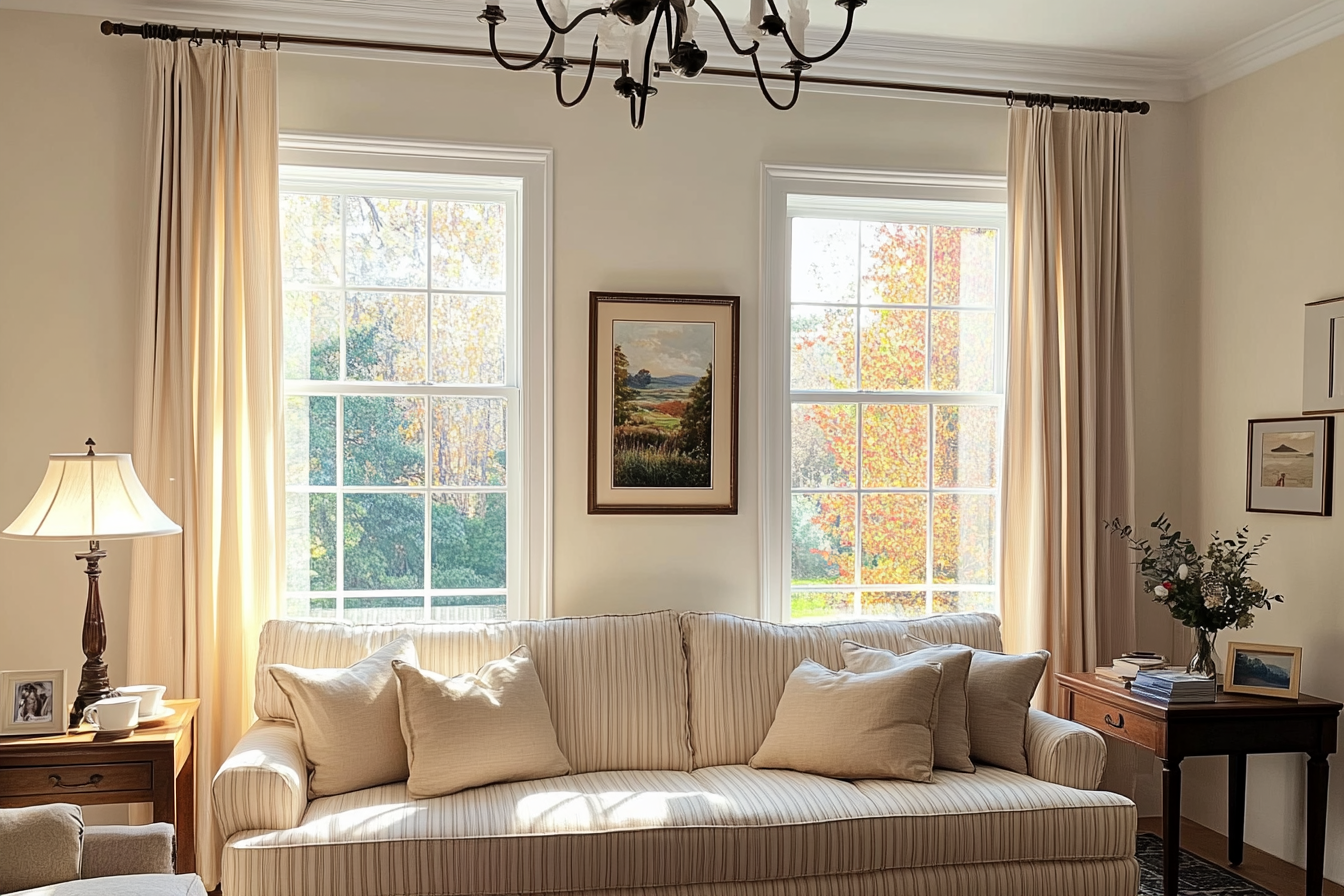
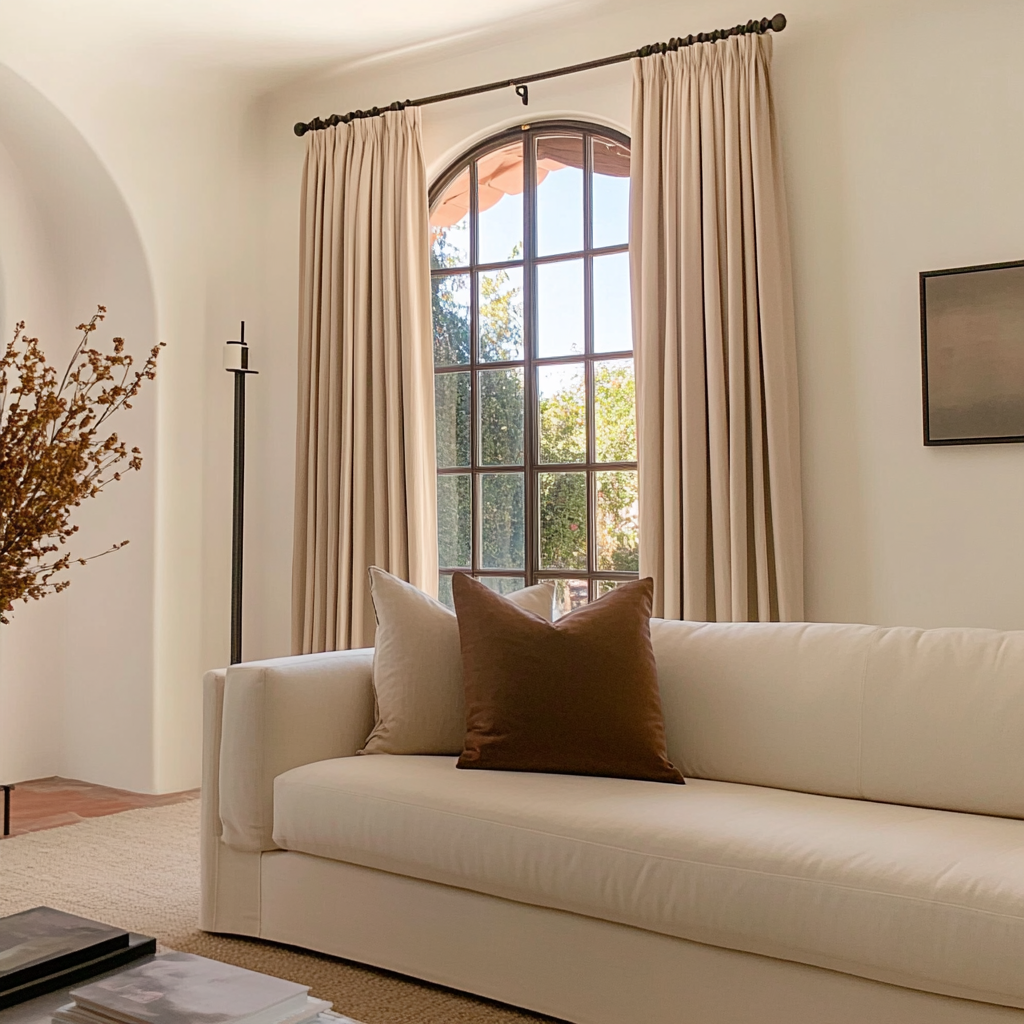
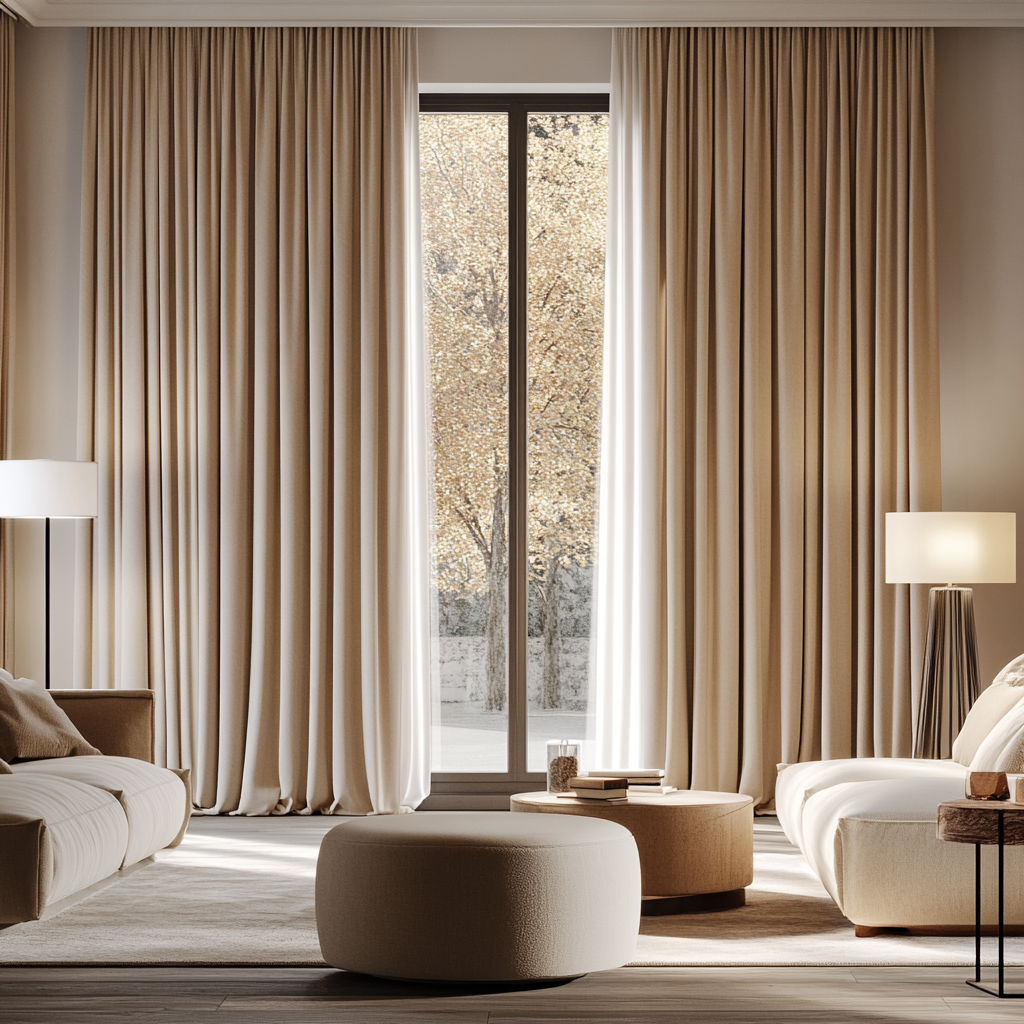
Most homeowners prefer an outside mount for its dramatic, room-enhancing effect. You can also choose between wall mount (great if you have crown molding) or ceiling mount (ideal for low ceilings to maximize height).
Step 3: Measure Window Width and Height
Once your mount style is set, carefully measure your window using these steps:
- Inside Mount: Measure the width and height inside the window frame from edge to edge in three places (top, middle, bottom for width; left, center, right for height) and use the smallest measurement for precision.
-
Outside Mount: Measure from the outer edge of the window trim across and top to bottom. For best coverage, extend your rod 6–12 inches beyond the window frame width and add extra height for a grander effect.
Common Mistake to Avoid: Not accounting for window hardware or handles that may obstruct the drapery.
Special Scenarios:
- Bay Windows: Measure each section separately and consider flexible rods or custom angles.
-
Arched or Irregular Shapes: Measure the widest and tallest points, and consult with a professional if unsure.
Diagram Tip: Include a sketch showing where to place your measuring tape for both inside and outside mounts to visualize the process clearly.
Step 4: Measure for Curtain Width
To ensure a luxurious, full look, calculate:
Rod width:
Measure the total width of your installed rod or track, including the extra width beyond the window frame. If your rod/track is not yet installed, measure your window width and add 8–12 inches to each side to estimate the final rod/track width.
Panel width:
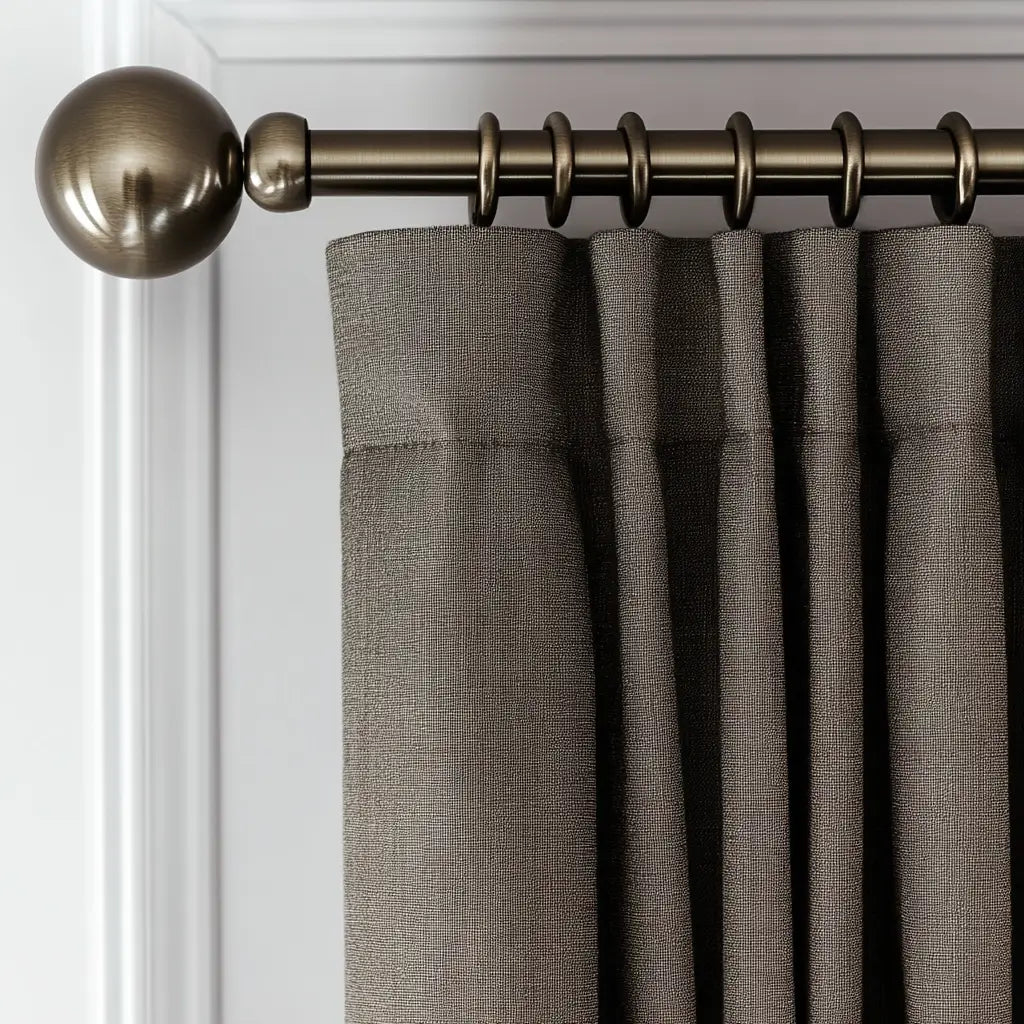
Flat Top Styles (Grommet, Rod Pocket, Back Tab, Tab Top, Flat Panel):
Panel Width = (Rod/Track Width × Fullness) ÷ Panel Quantity
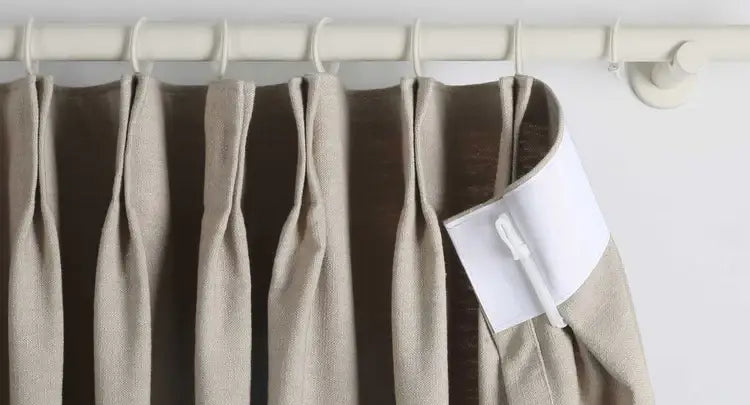
Pleated Top Styles (Pinch Pleat, Euro Pleat – Double/Triple):
Panel Width = Rod/Track Width ÷ Panel Quantity
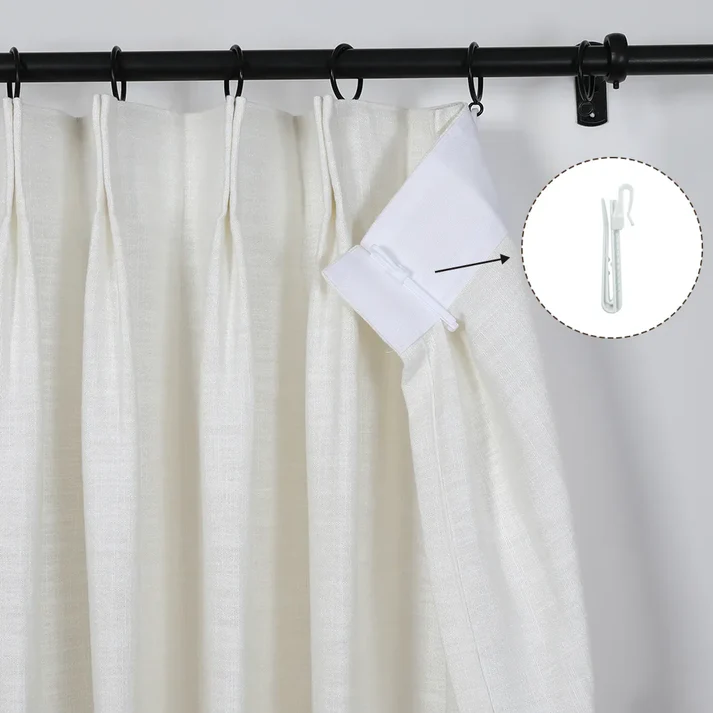
Step 5: Measure for Curtain Length
Now decide where you want your curtains to fall:
Flat Top Styles (Grommet, Rod Pocket, Back Tab):
Length = Top of rod to floor + allowances
Pleated Top Styles (Pinch Pleat, Euro Pleat):
Length = Top of pleat to floor + bottom allowance
Bottom Finish Options:
- Above the Floor (Recommended: 0.5 inch clearance): Crisp and practical, avoids dust.
- Kiss the Floor: Just grazes the floor for a polished look.
- Puddling (2–6 inches): Adds luxury and softness (best for decorative use).
Measure from the top of your rod to the desired endpoint. For break or puddle styles, add 2–6 extra inches depending on the look you want.
Expert Tips for Best Results
- Mount High & Wide: Hang your rod 4–6 inches (or more) above the window frame and extend it 6–12 inches beyond the sides to make ceilings look taller and windows appear larger.
- Order Longer Rather Than Shorter: Always round up to the nearest inch to avoid curtains that are too short.
-
Account for Hardware: Don’t forget to include the space taken up by finials and brackets in your measurements.
-
Avoid Common Pitfalls: Double-check for obstructions like radiators, furniture, or window locks that might interfere with curtain flow.
-
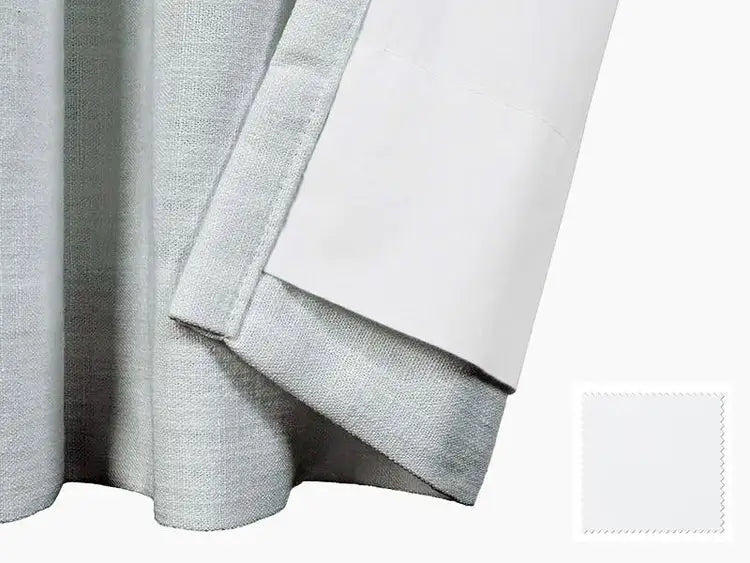
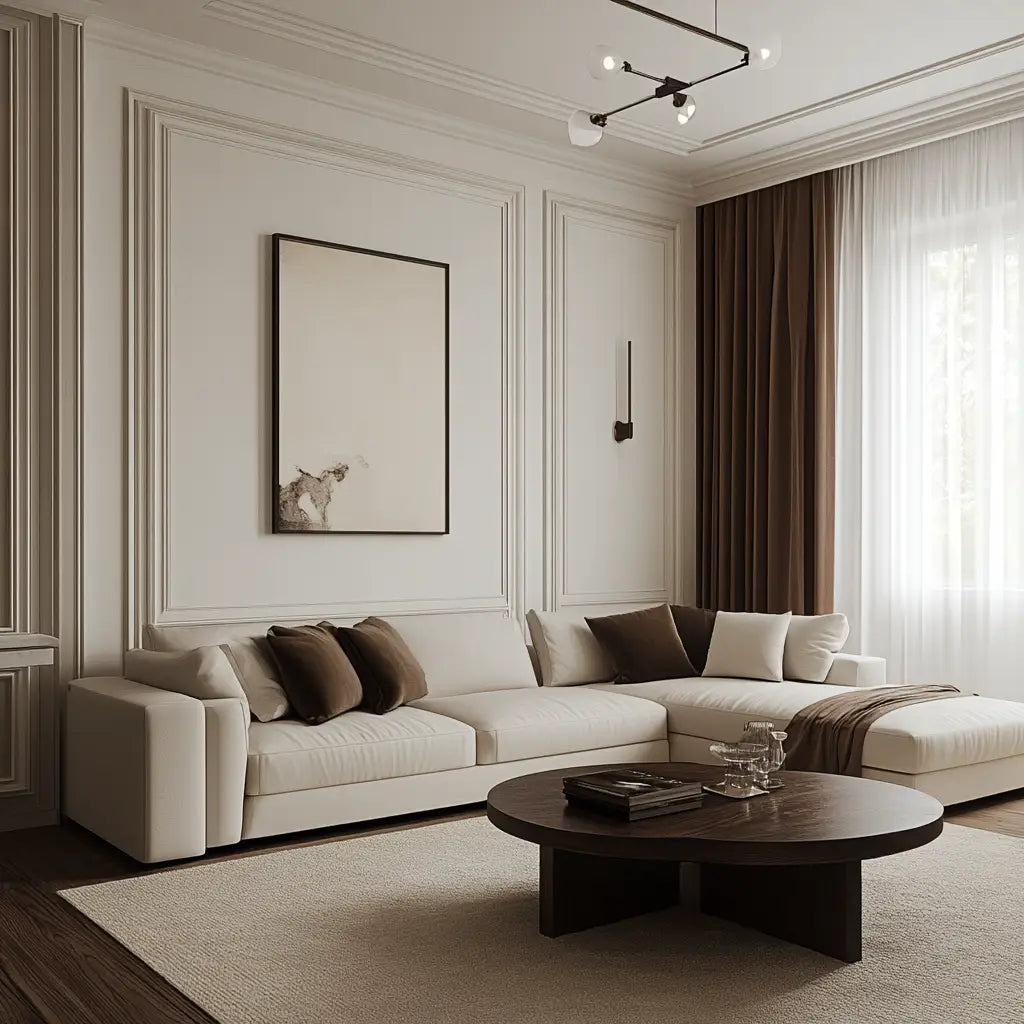
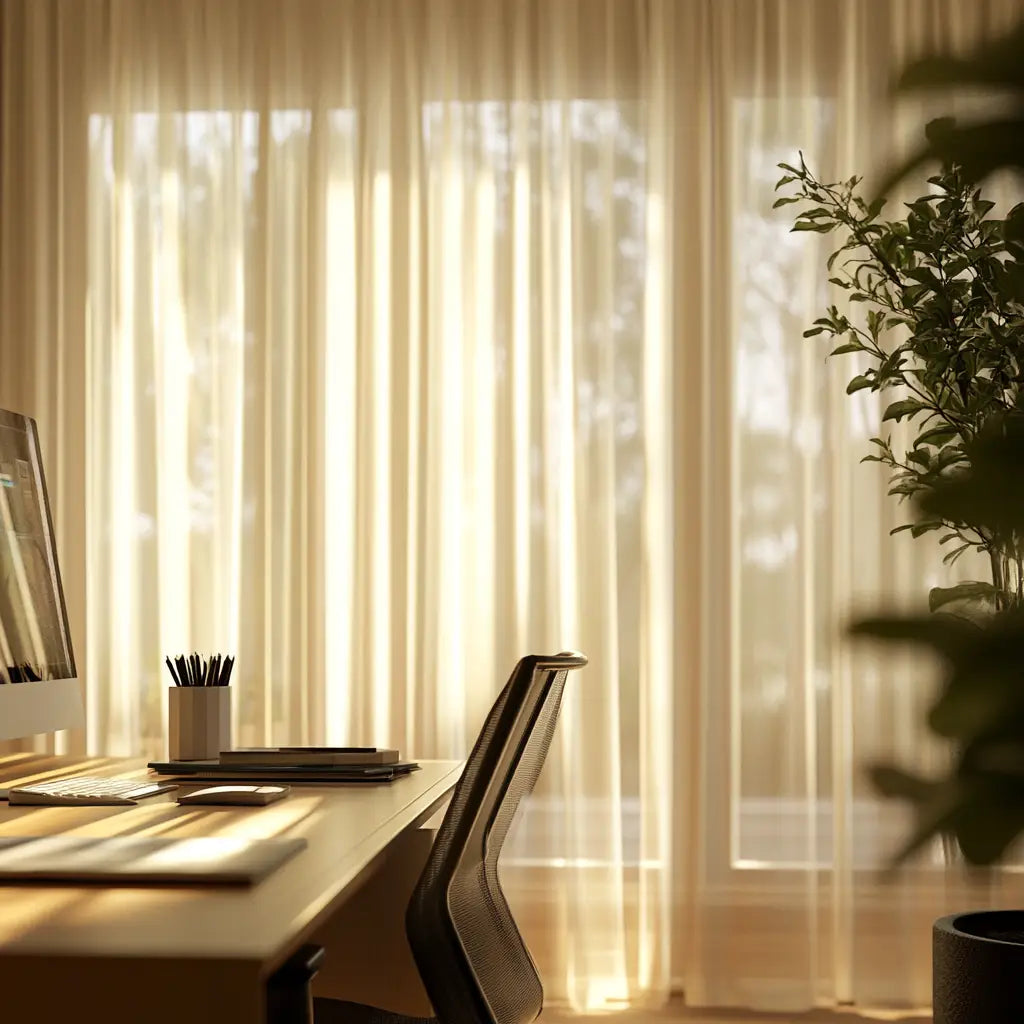
Consider Lining Options: Blackout, thermal, or sheer linings all affect the drape and fullness.
FAQ:
Q: Should curtains touch the floor?
A: It depends on your style. Floor-length offers a neat finish; puddle length adds drama.
Q: How do I measure for bay windows?
A: Measure each segment individually and note angles; custom rods or flexible tracks work best.
Get It Right with LUXDRAPE
Measuring for curtains doesn’t have to be intimidating. Follow our simple steps for flawless results, or let us help! LUXDRAPE offers personalized guidance and expert advice to ensure your custom curtains fit beautifully and elevate your space.
Our customers love the transformation—many rave about how our curtains have enhanced their rooms with both style and function. We’re proud to offer high-quality fabrics, precise craftsmanship, and outstanding service from start to finish.
Ready to transform your windows? Explore our collection and discover why LUXDRAPE is the trusted choice for custom drapery.
